

Project Description
This project involves automating the deployment of a Portfolio App on AWS S3 using GitHub Actions, which entails setting up a CI/CD pipeline that automatically builds and deploys your website every time you push new changes to your GitHub repository. This workflow enables efficient, consistent deployments and ensures that your portfolio is always up-to-date with the latest changes.
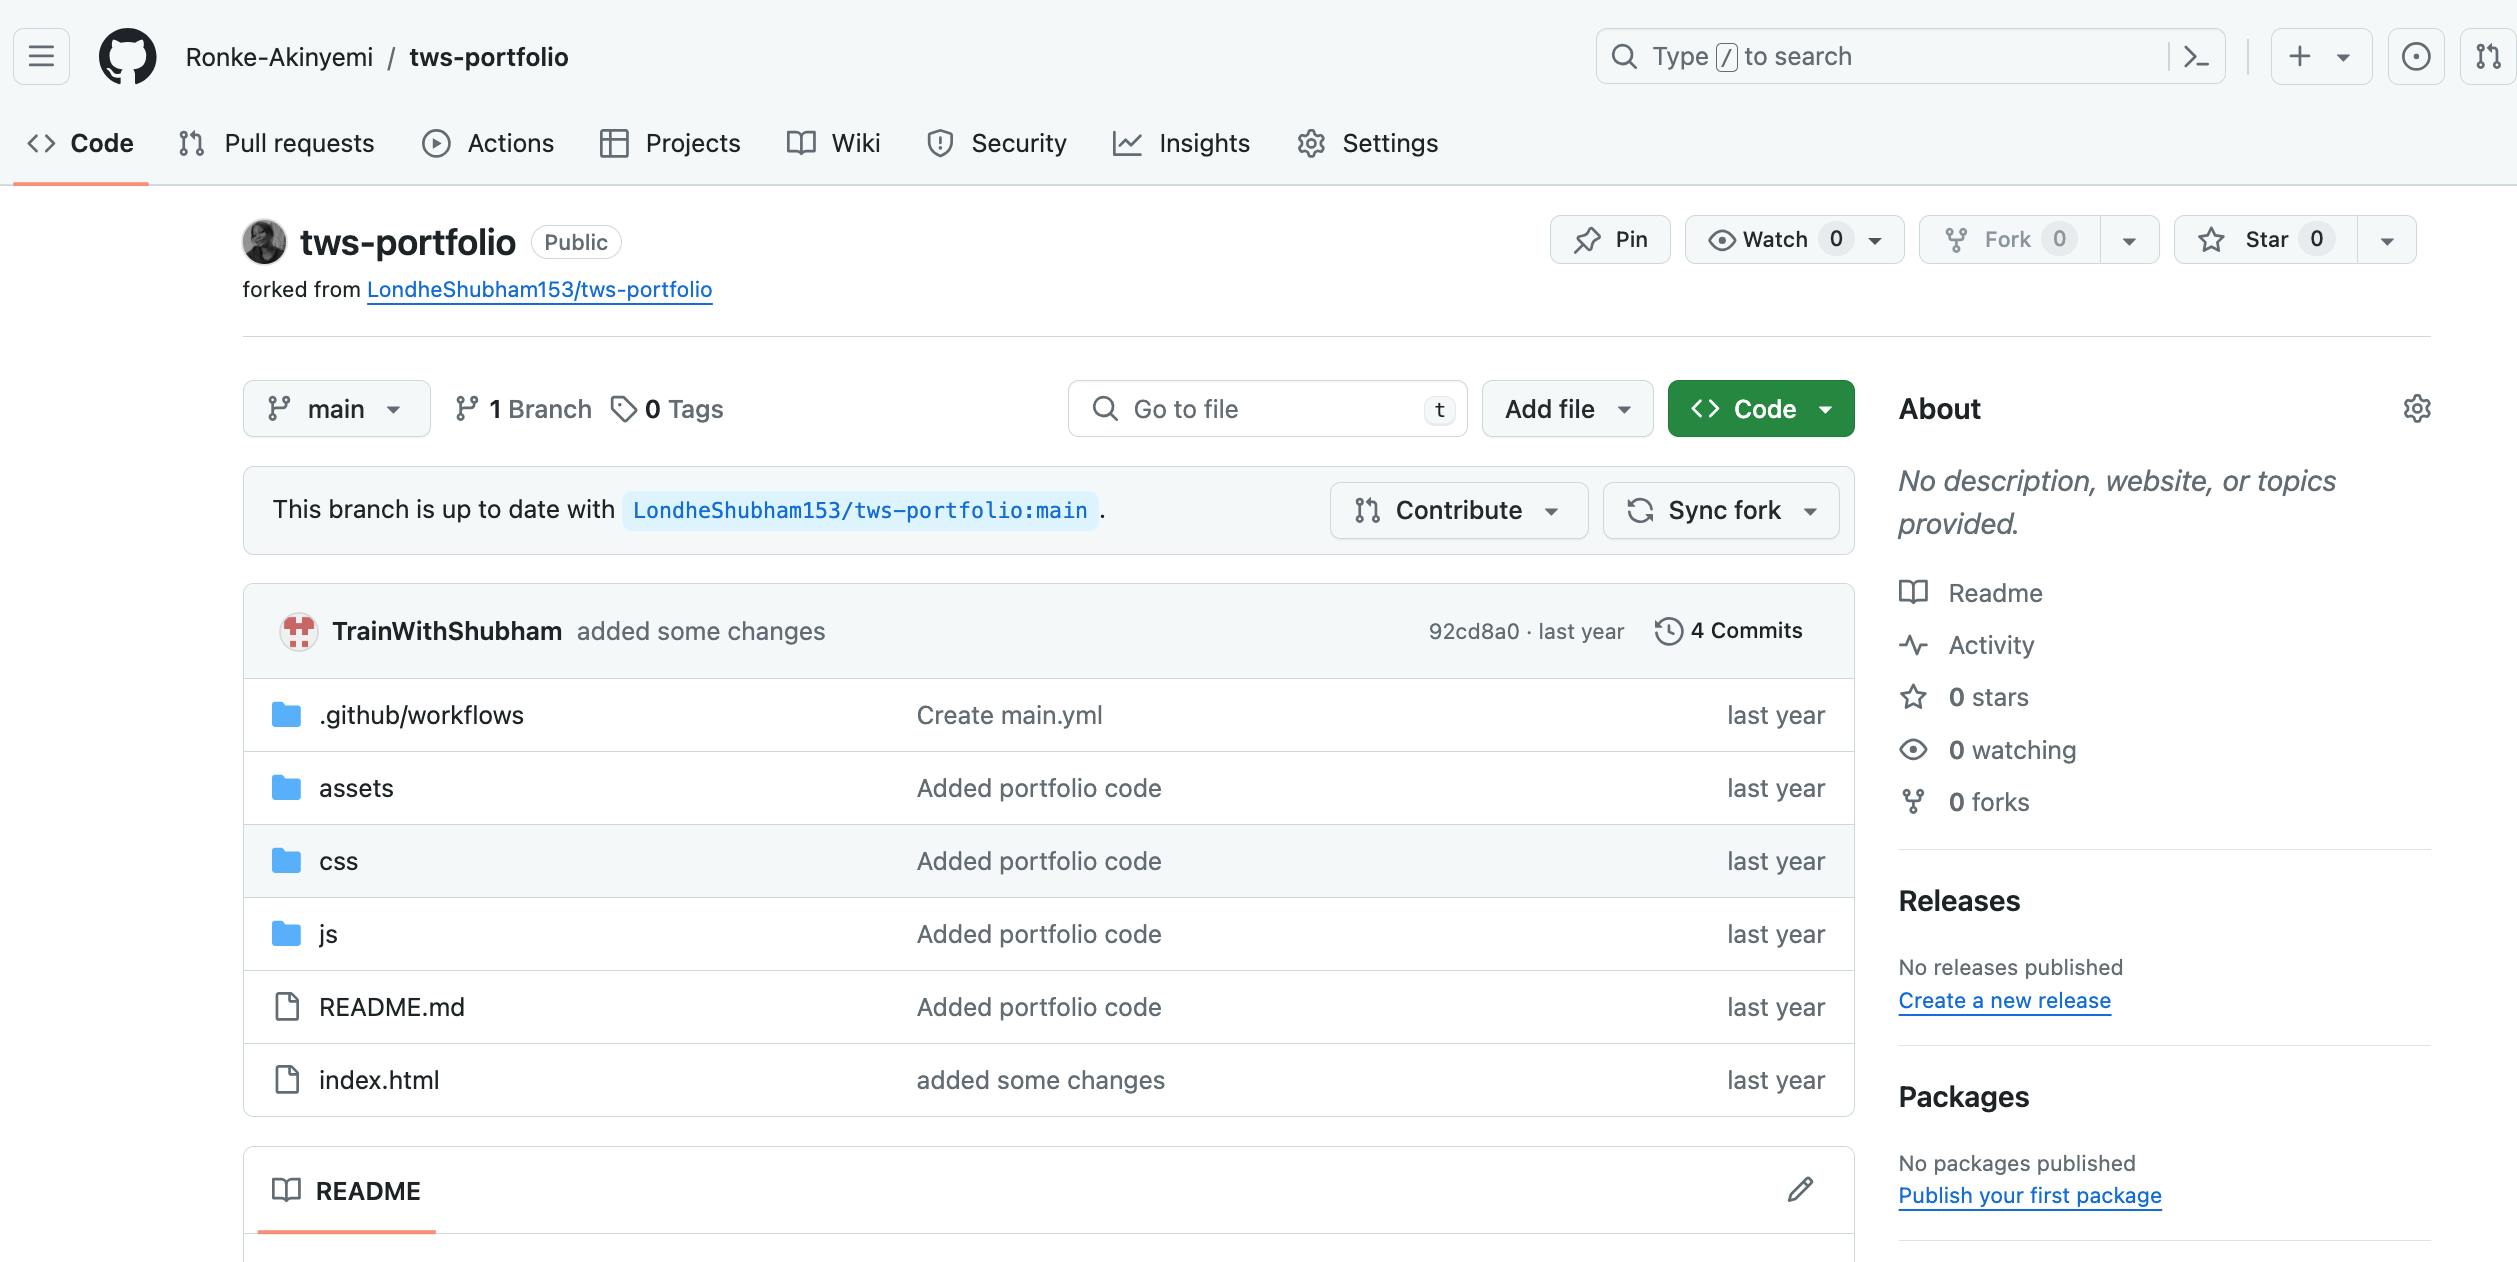
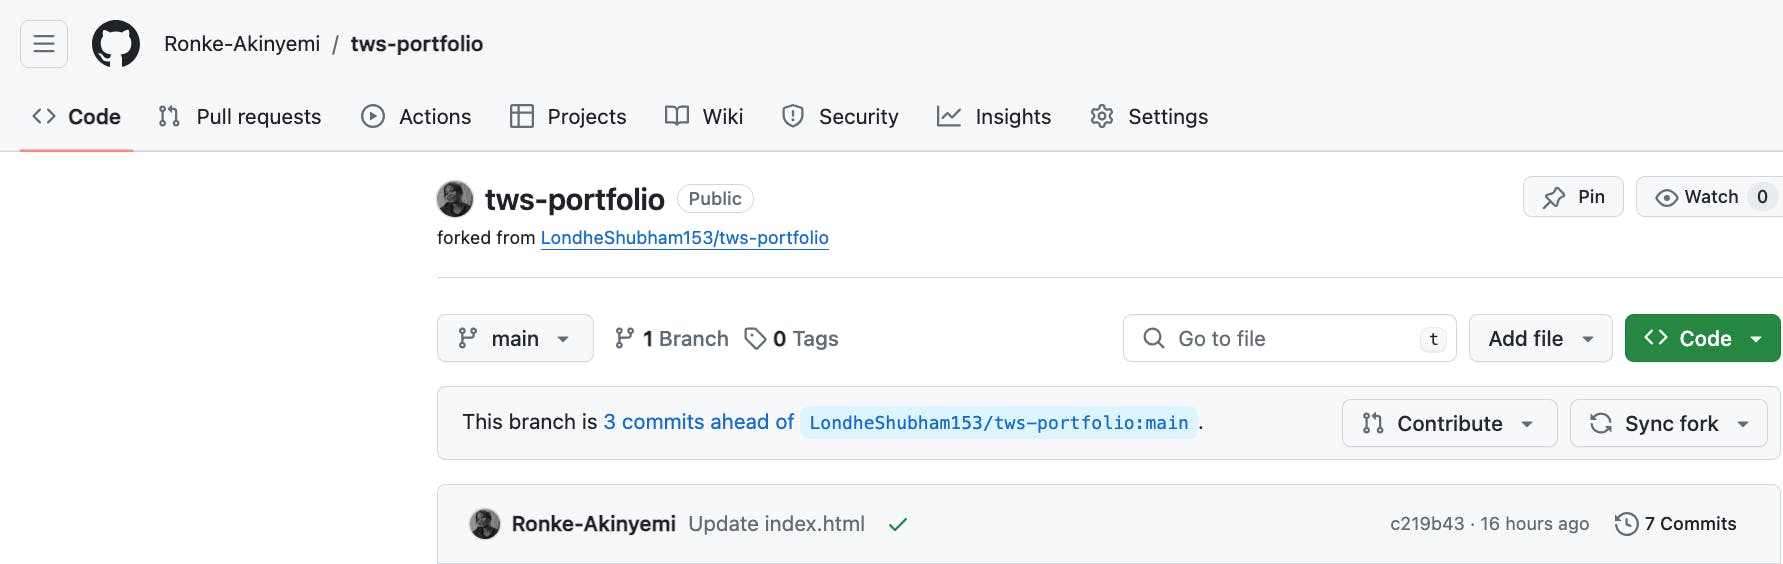
Step 1: Get a Portfolio application from GitHub
Clone the GitHub repository to your local development environment or directly to your AWS server. In either case, we will configure AWS S3 and set up the GitHub Actions Workflow.
Step 2: Build the GitHub Actions Workflow
"Navigate to the code repository on GitHub, then click on "Actions" followed by "New workflow" and select "Set up a workflow yourself". Create a main.yml workflow File.

name: Portfolio Deployment

on:
  push:
    branches:
    - main

jobs:
  build-and-deploy:
    runs-on: ubuntu-latest
    steps:
    - name: Checkout
      uses: actions/checkout@v1

    - name: Configure AWS Credentials
      uses: aws-actions/configure-aws-credentials@v1
      with:
        aws-access-key-id: ${{ secrets.AWS_ACCESS_KEY_ID }}
        aws-secret-access-key: ${{ secrets.AWS_SECRET_ACCESS_KEY }}
        aws-region: us-east-1

    - name: Deploy static site to S3 bucket
      run: aws s3 sync . s3://90daysofdevops-day86 --delete
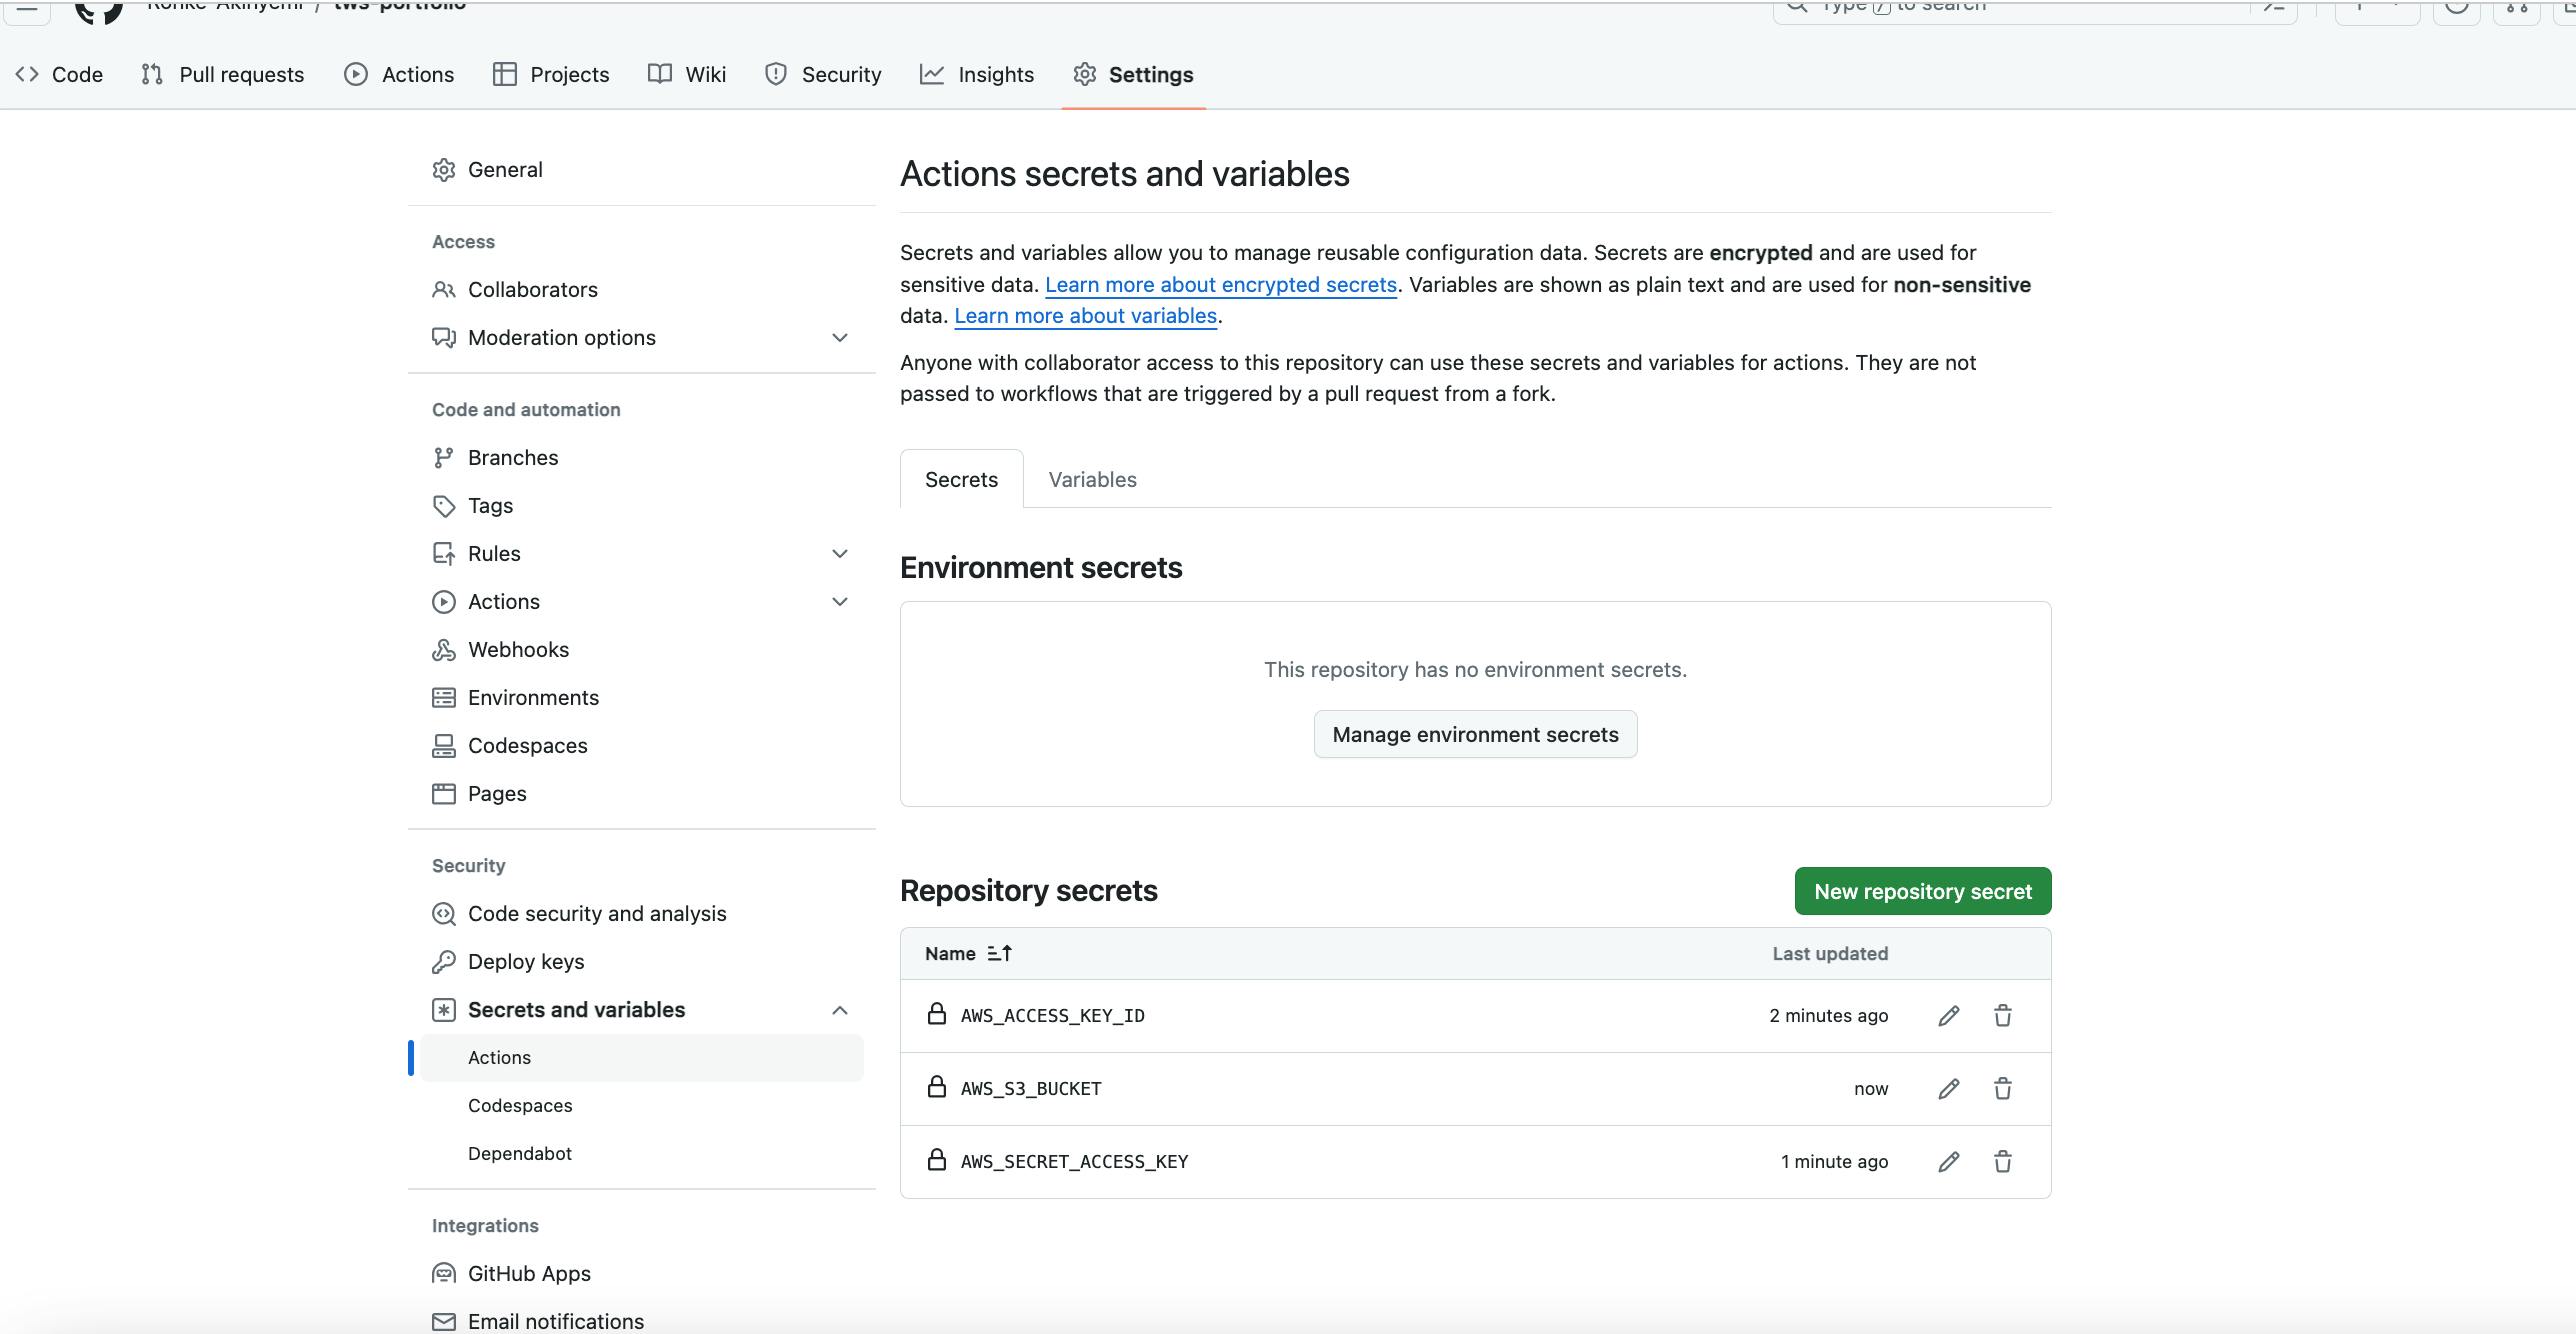
Step 3: Setup GitHub Secrets for AWS CLI
Go to your GitHub repository, click on "Settings" > "Secrets" > "Actions", and add new secrets. E.g AWS_S3_BUCKET, AWS_ACCESS_KEY_ID and AWS_SECRET_ACCESS_KEY.
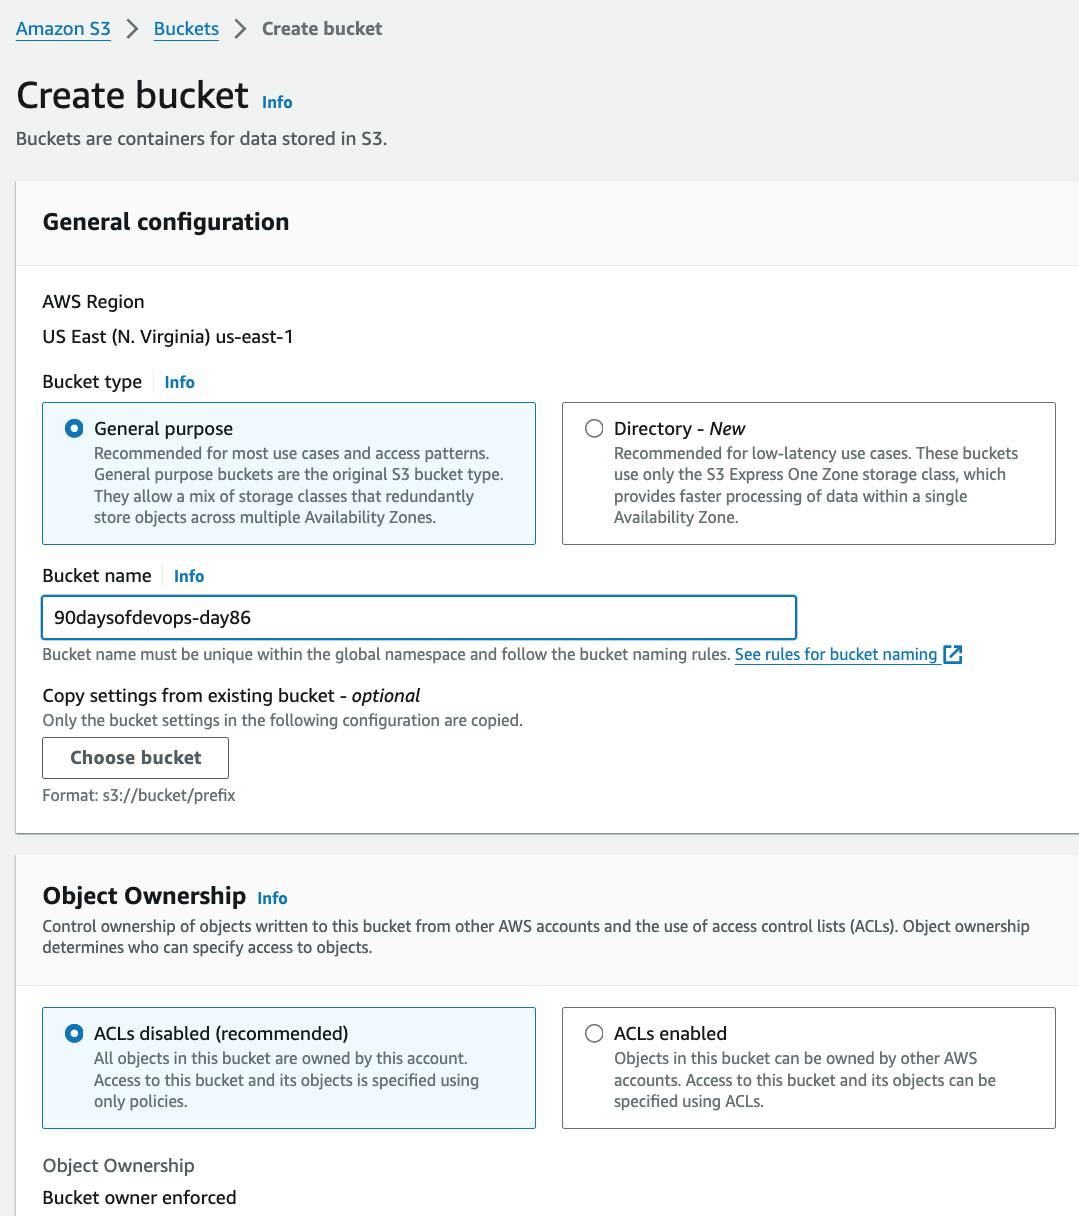
Step 4: Setup AWS S3 with Public Access and Static Website Hosting
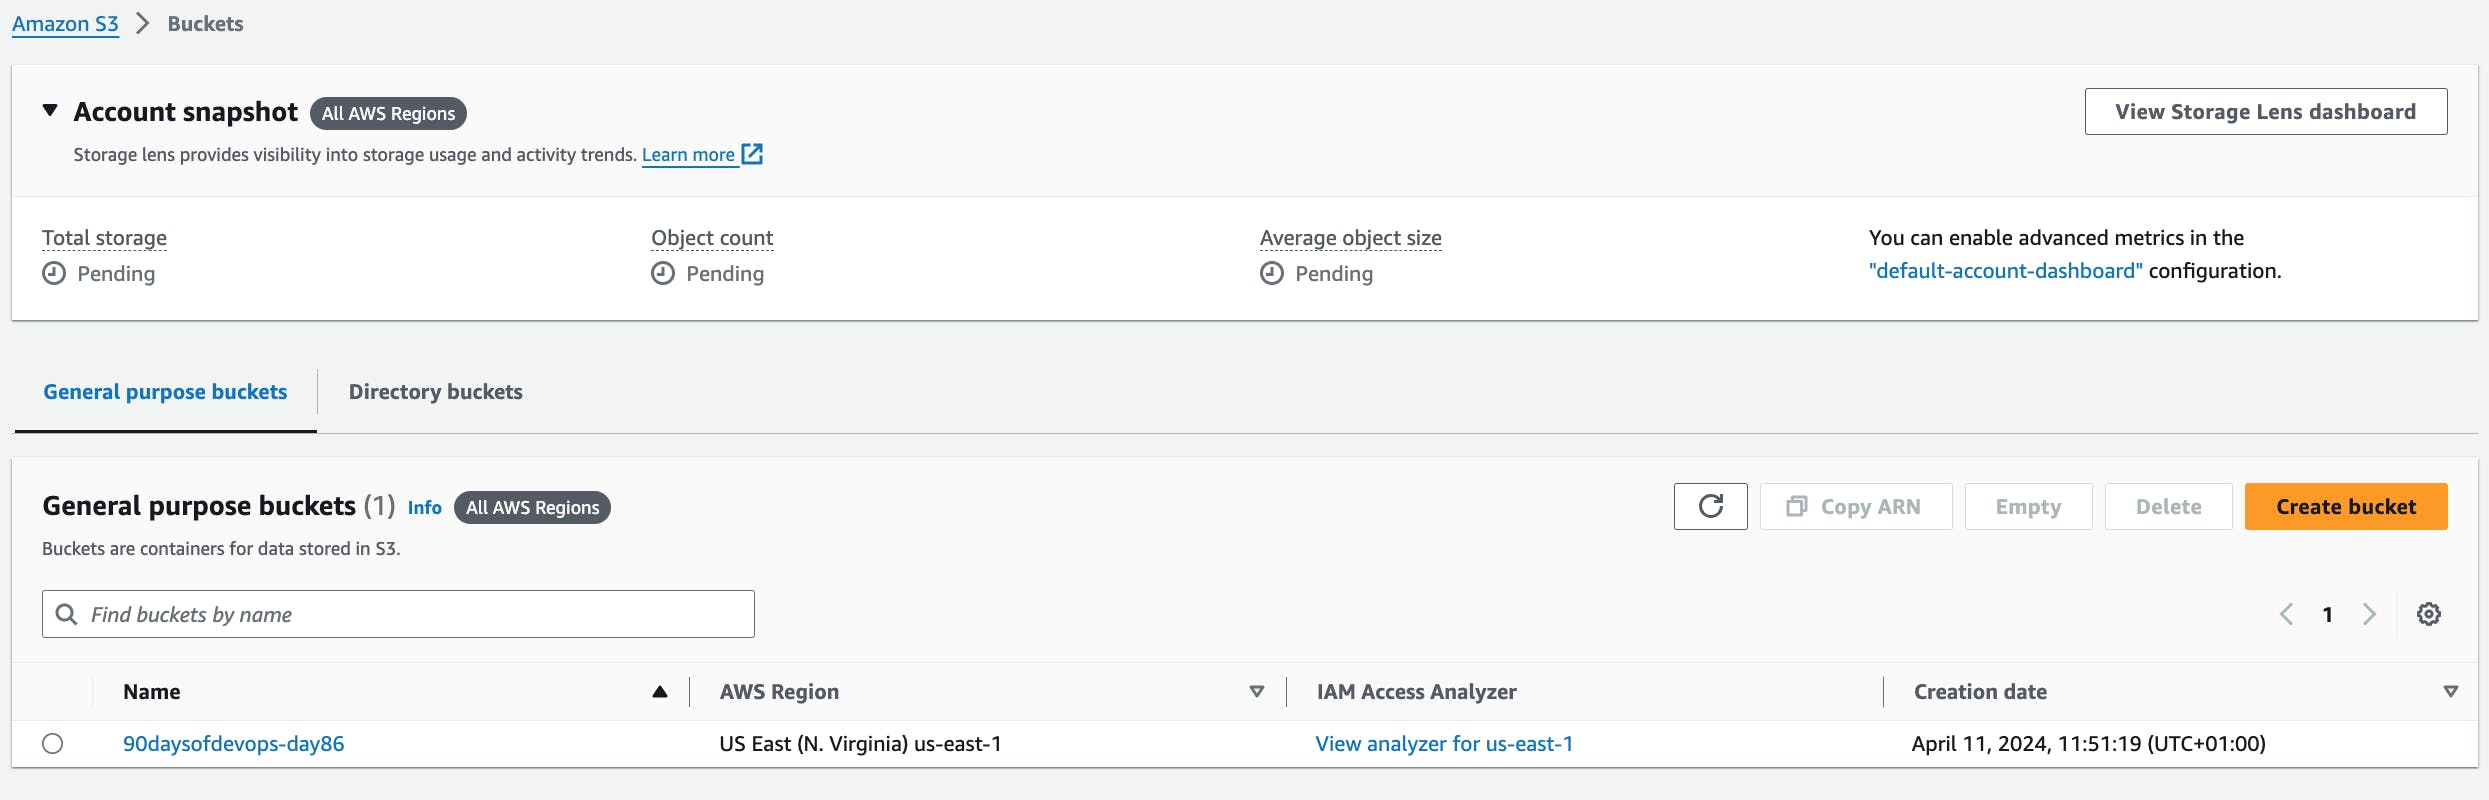
Create an S3 Bucket
Log in to the AWS Management Console and navigate to the S3 service.
Click on “Create bucket”. Provide a unique bucket name.

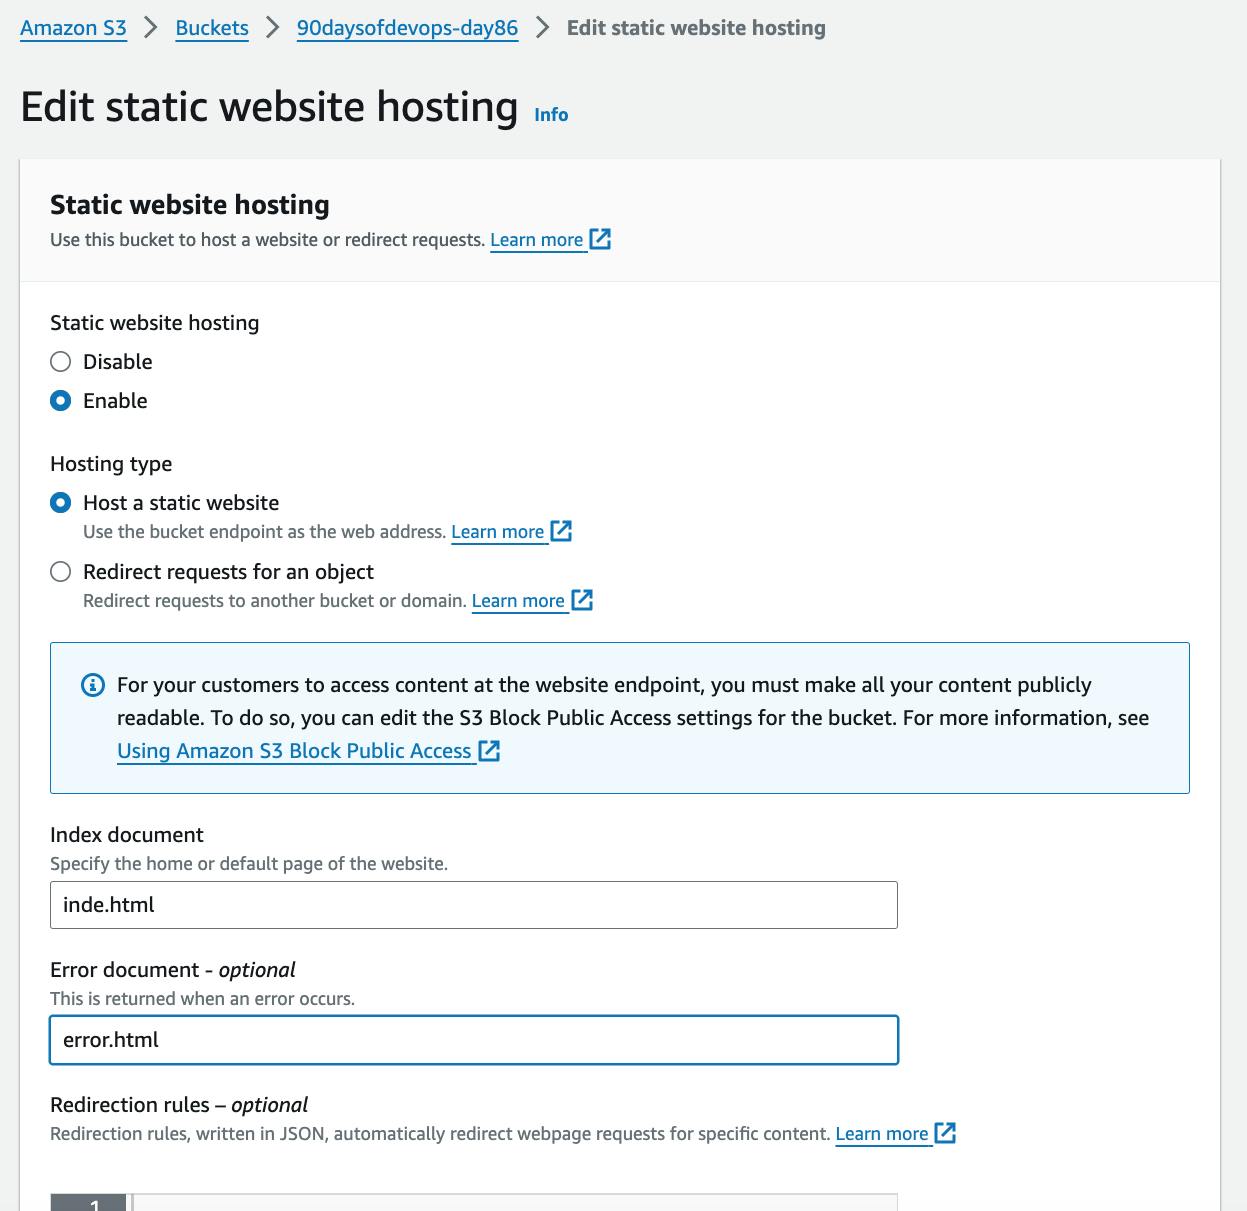
Navigate to bucket properties and edit "Static website hosting".
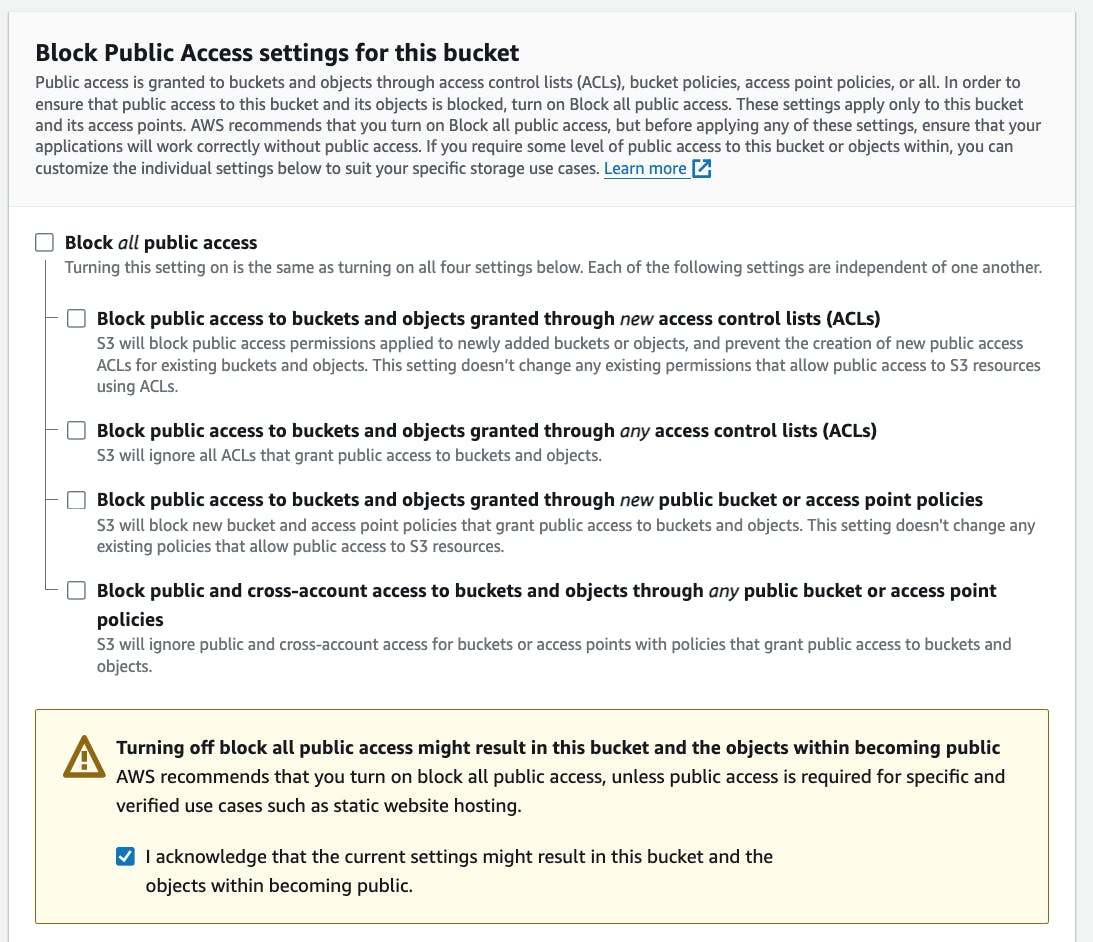
Set Bucket Permissions
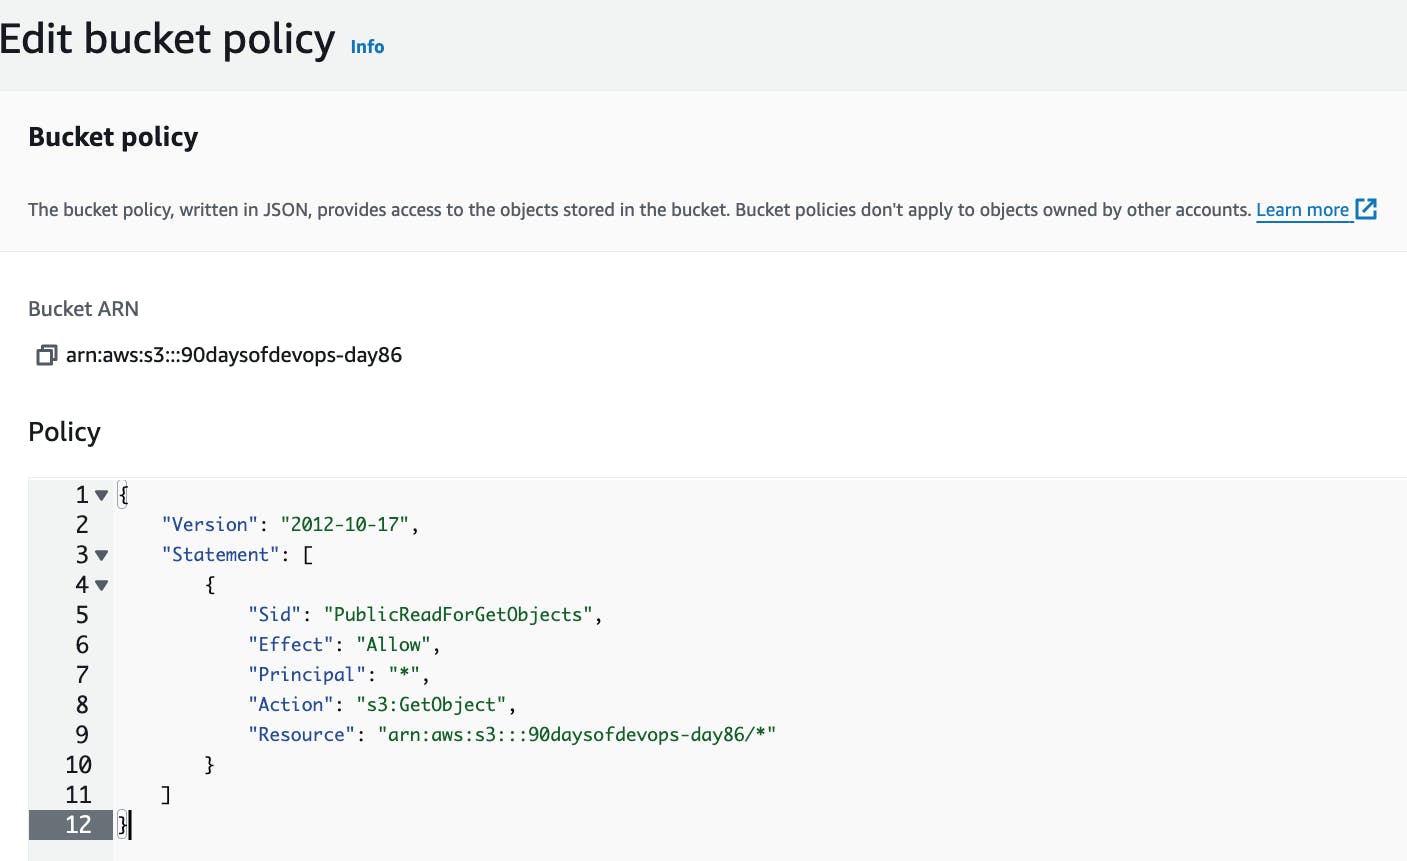
- In order to make the content publicly accessible, you need to modify the policy. Navigate to the Permission tab of your bucket, go to "Bucket policy" and click on "Edit"
Step 5: Update the Index.html File and Run the Workflow
Make a new change in your app index.html file to trigger the GitHub Action workflow. Commit, add, and push the changes to your GitHub repository.
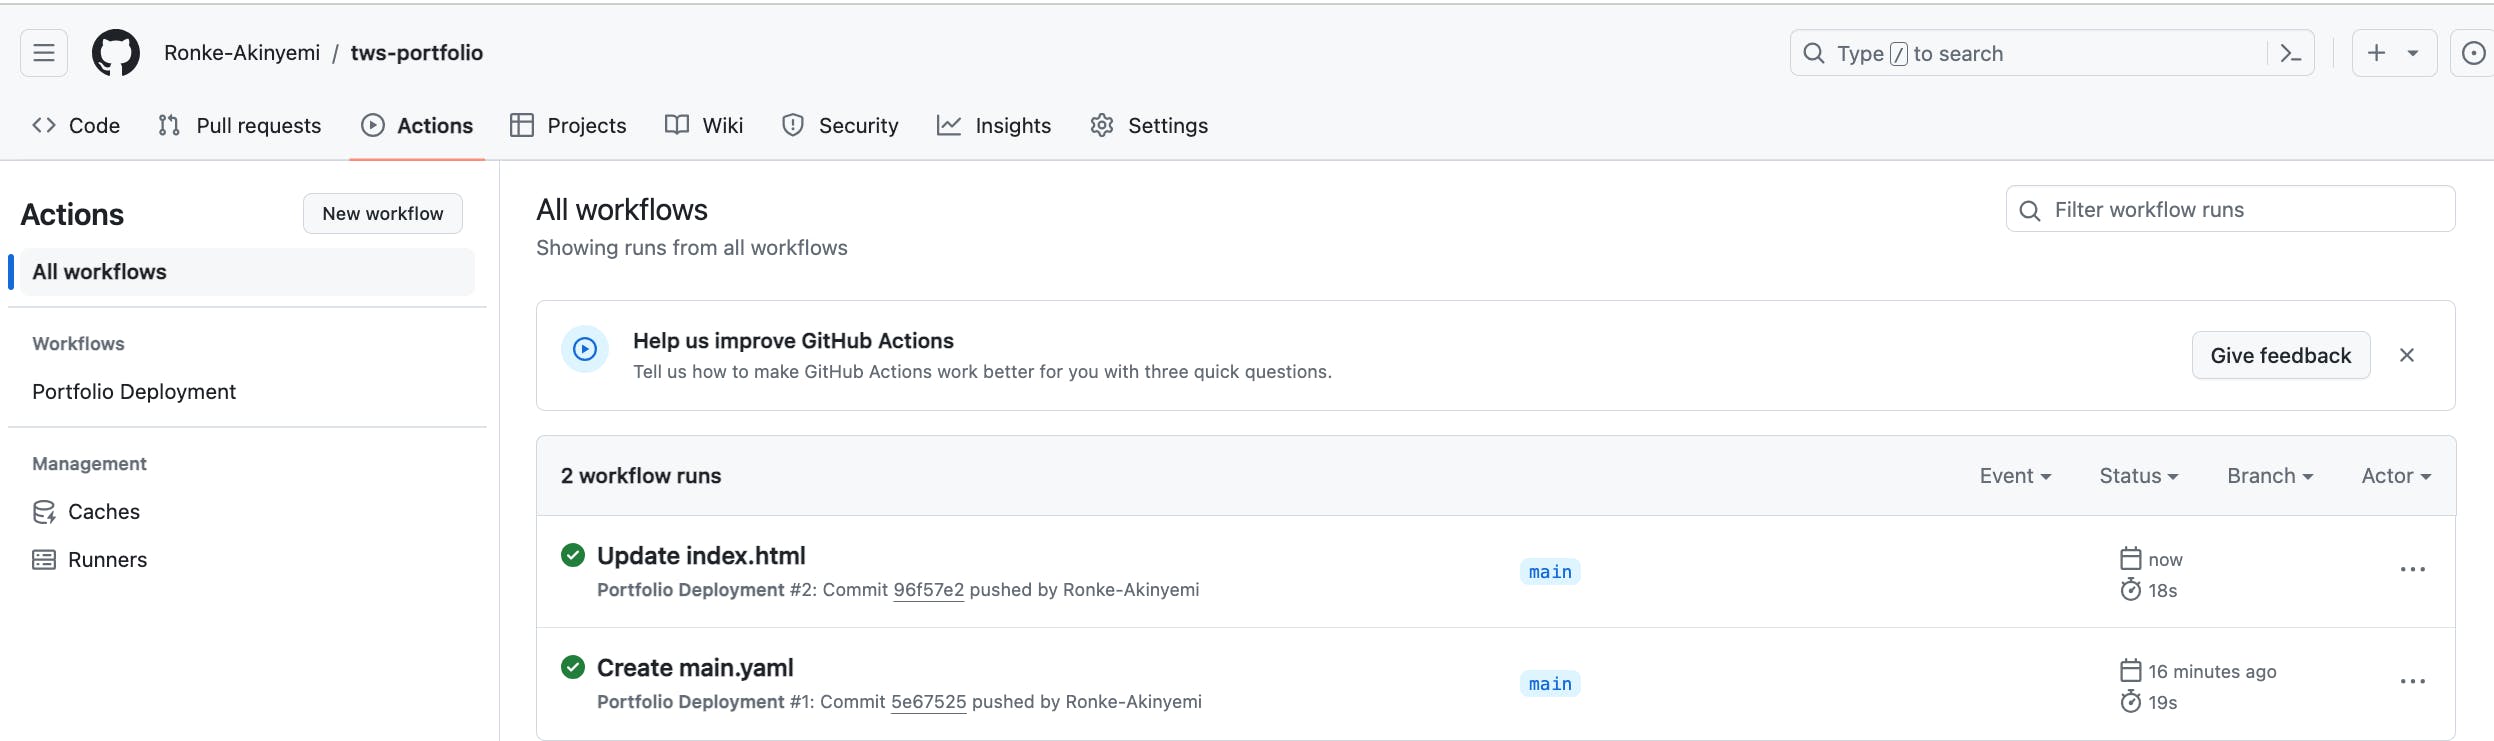
Step 6: Execute the GitHub Actions Workflow
Once the index.html file has been updated, the GitHub Actions workflow will automatically execute and deploy it to the AWS S3 bucket, rendering it publicly accessible.

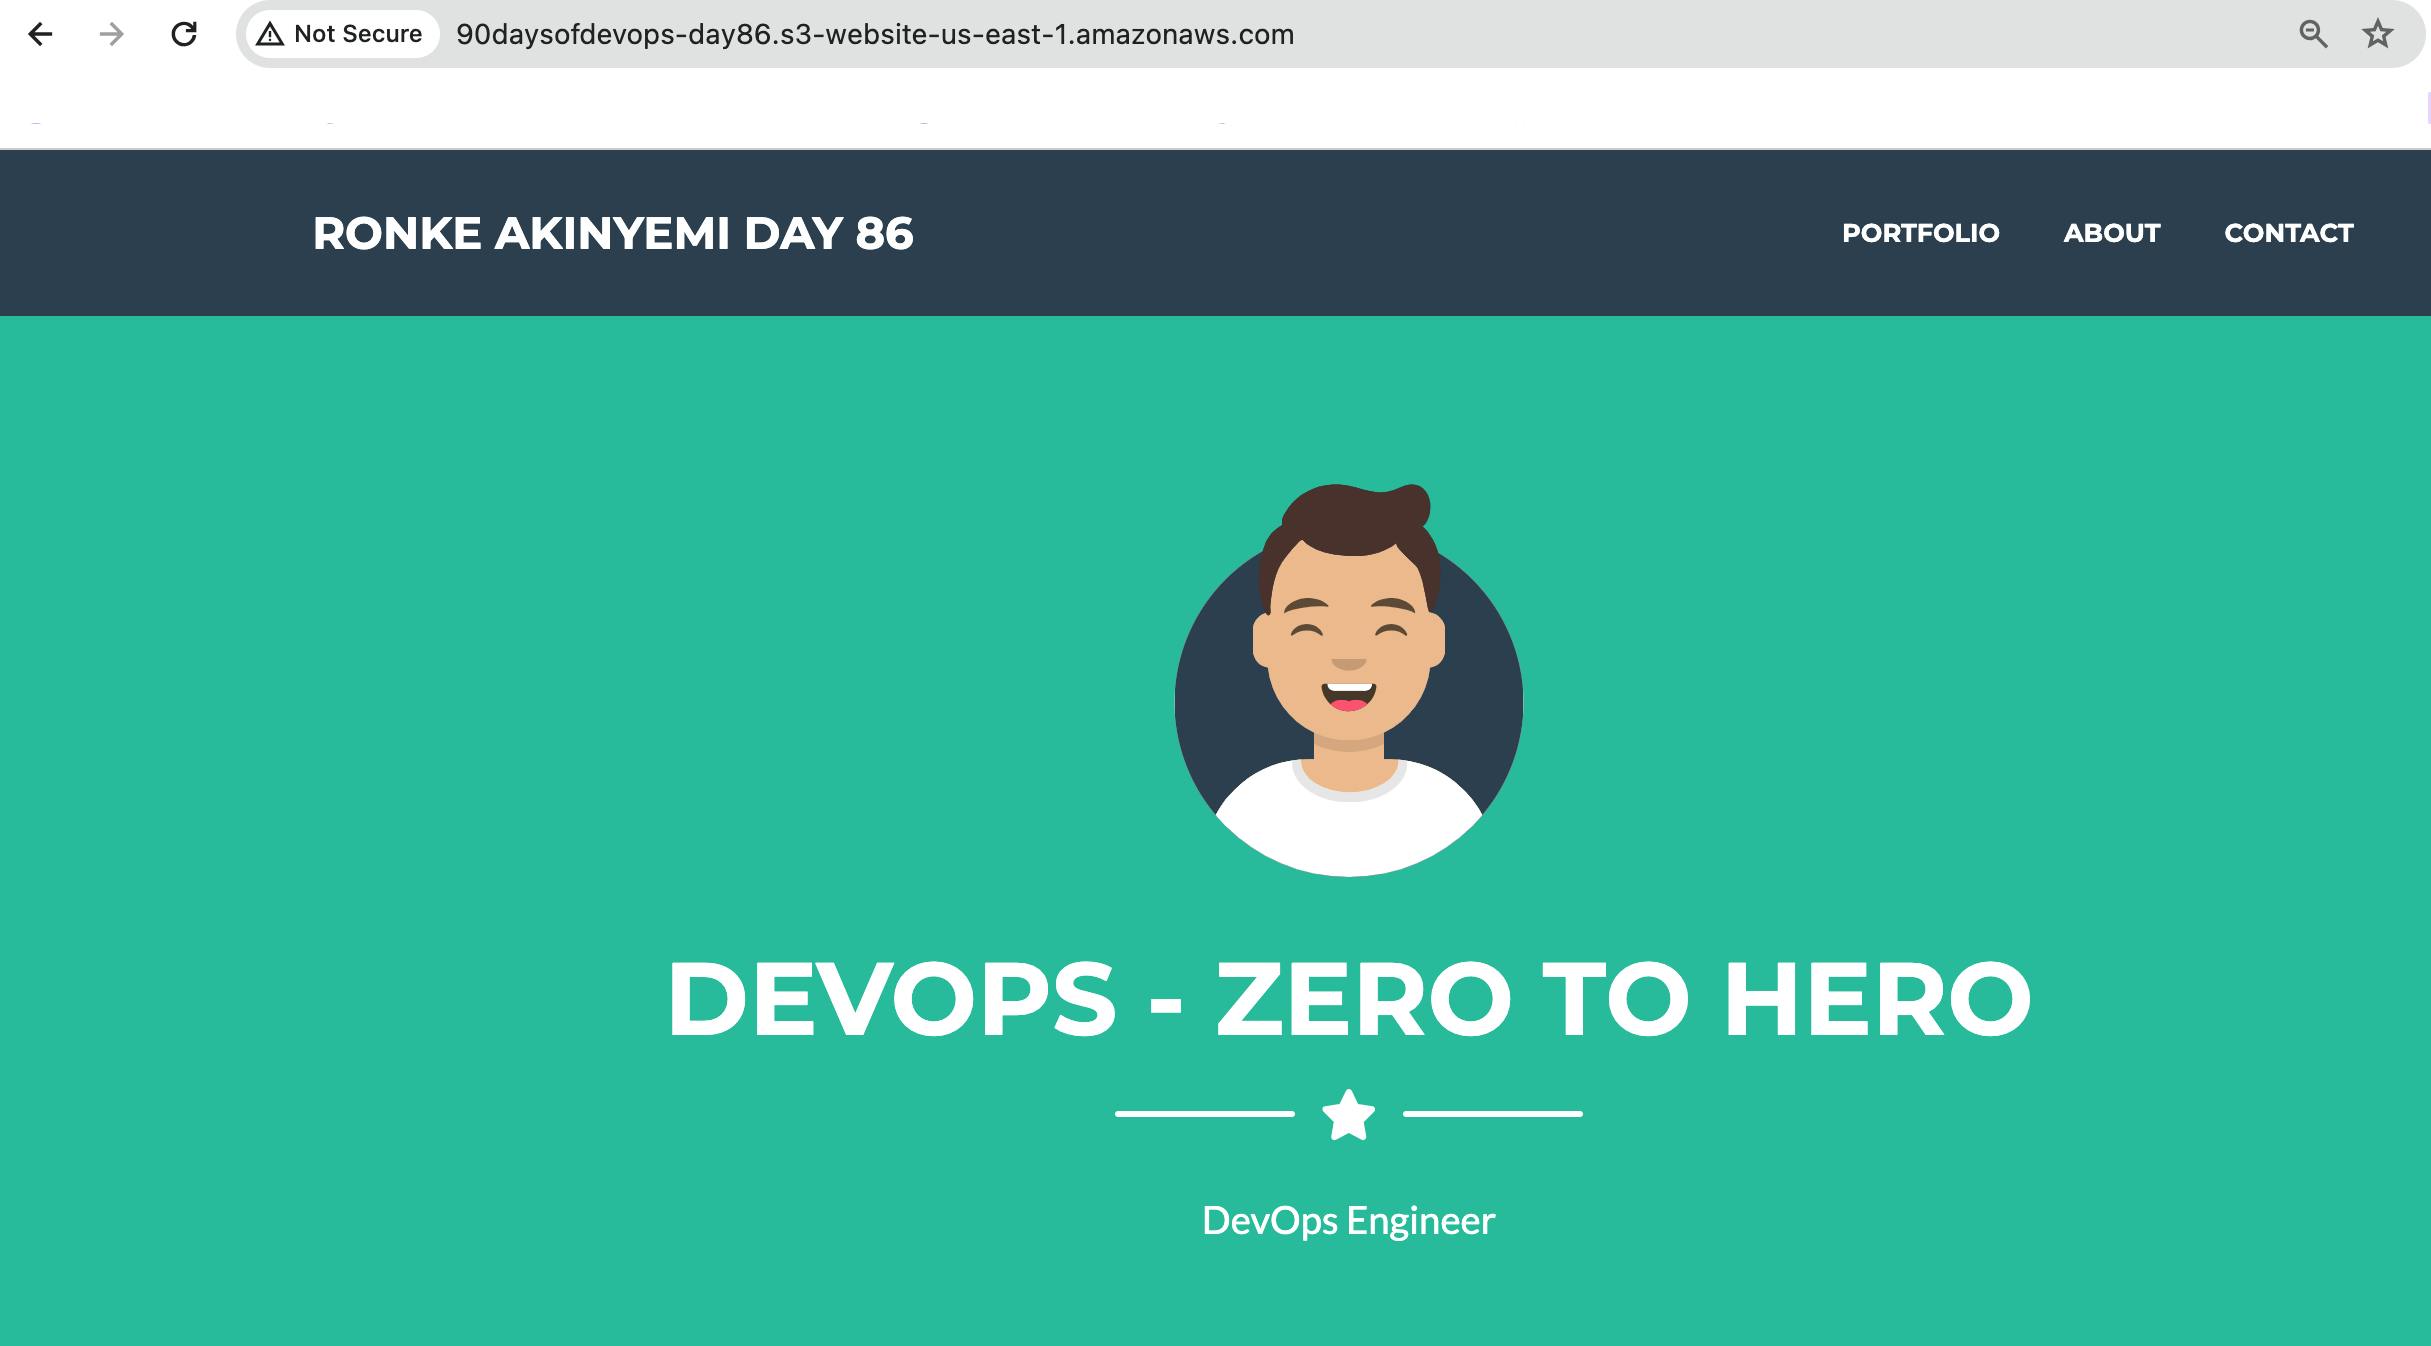
Step 7: Verify the Deployment
Access the deployed application by navigating to the S3 bucket's Permissions > Static website hosting, copy the URL, and open it in your browser.

To see CI/CD at work, just make changes in your GitHub repository's main branch. The CI/CD pipeline will kick in automatically, updating your application with the new changes.
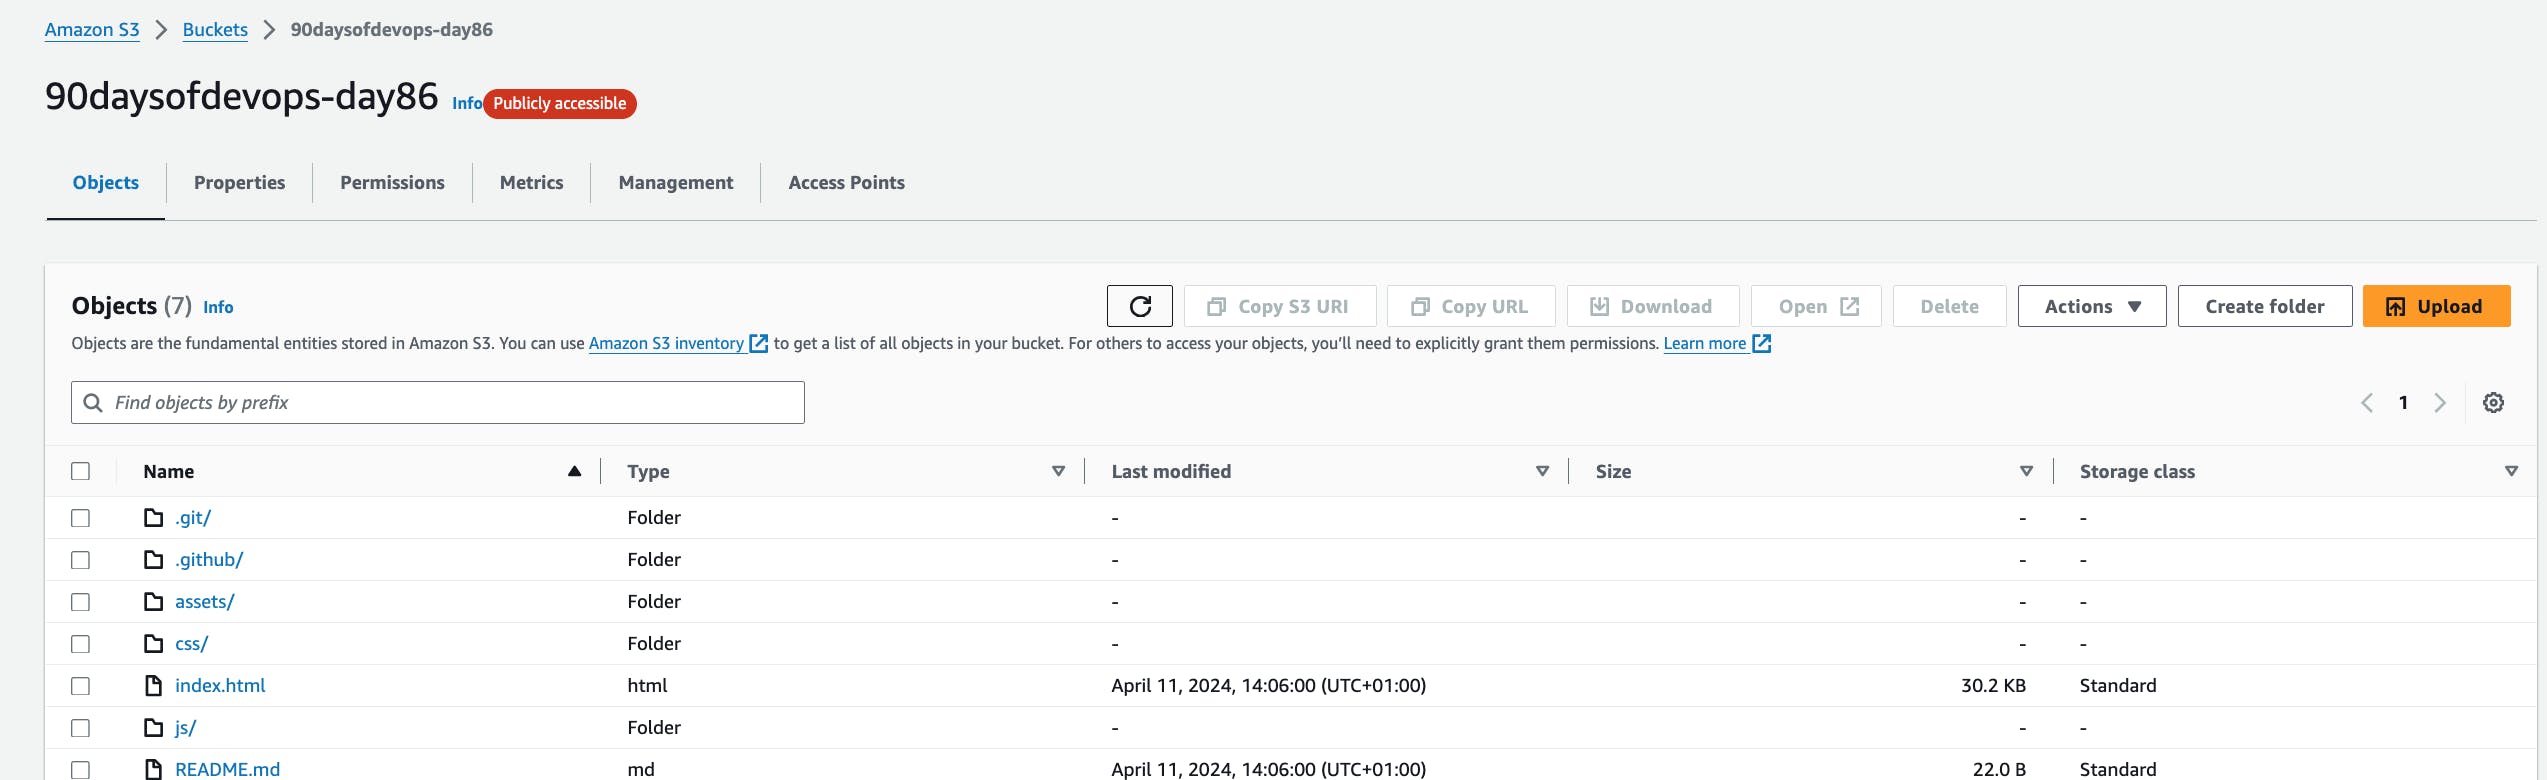
You can also verify how the GitHub Actions workflow has transferred your portfolio app files into the S3 bucket as specified in the YAML file.
Thank you for reading.